My Beautiful Faraway gas pipeline puzzle
The demo valve route requires a system failure. Obtain the red metal valve from the apartment gas puzzle, then install it at the water-side hydraulic socket.
To get the red valve in the My Beautiful Faraway demo, you need to cause a gas-system failure, then take the loose valve to the hydraulic socket by the water. Following the safe repair instructions can leave you waiting without the item. A community-reported combination is G1 and M2 on; F1, F2 and F4 on; F3 and F5 off; then activate the blue valve. The two demo videos also show that deliberately breaking the system produces the red valve.
Demo guide · Updated October 5, 2026. The exact switch combination above comes from the Steam puzzle thread; the failure-and-pickup route is also visible in independent demo playthroughs.
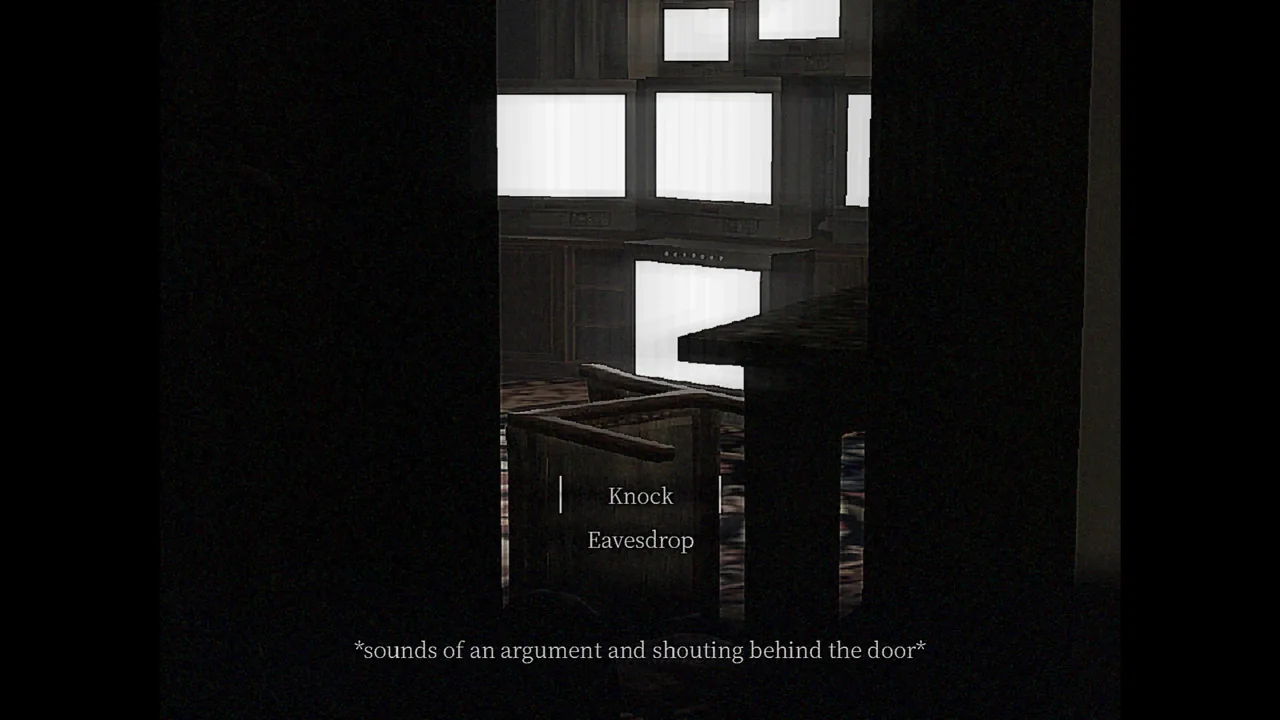
Official Steam store image by 4rch1t3ct. The apartment encounter leads into the gas-pipeline task.
Find the building and read the diagram
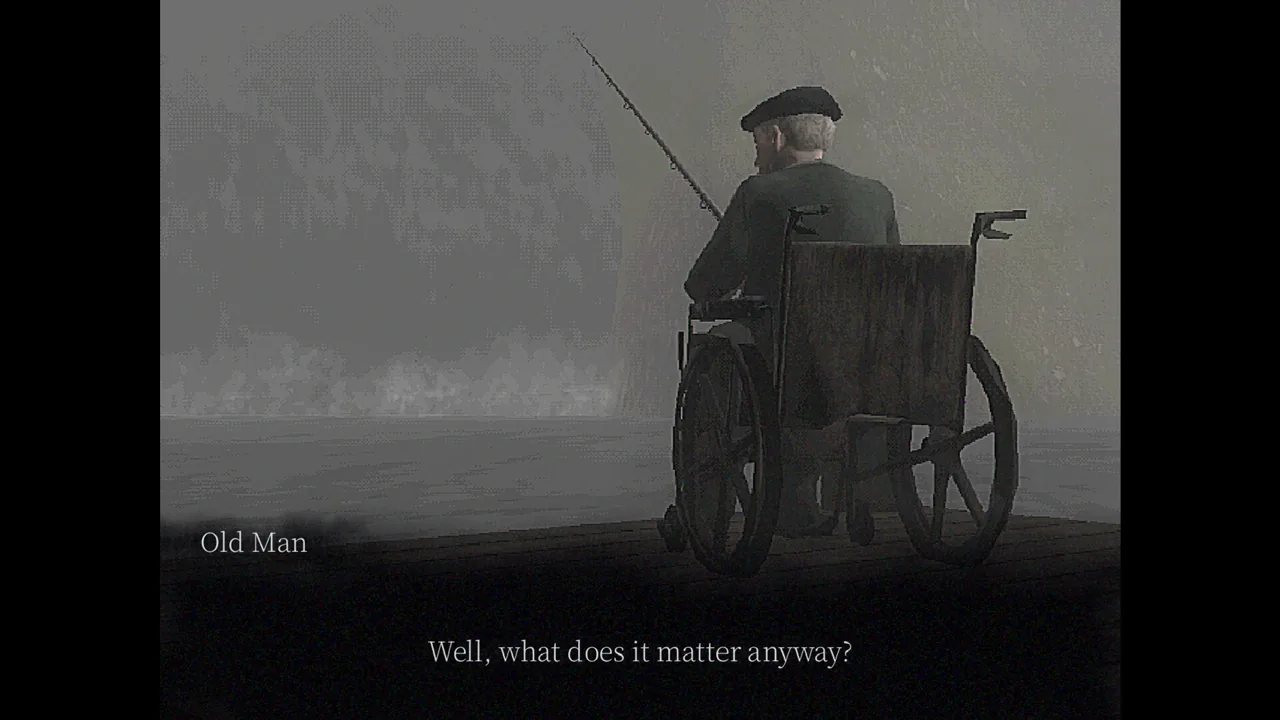
After leaving the church, explore the outdoor area and speak to the old man by the water. His conversation points you toward an argument in the apartment building. Inside, you can read the tenants' notice and interact at the couple's door; the conversation introduces a missing television remote and mentions the swamp.
The gas repair diagram is behind the building. The tenants' notice points there, so check the exterior instead of searching every apartment for a second diagram. Once the information has been added to your notes, you can consult it from the pause menu rather than repeatedly walking back outside.
The diagram distinguishes supply, distribution, main flows and stabilization. Those names matter more than the general appearance of a lever: a control that is on is not necessarily supplying a main flow. Before trying a combination, identify each label and separate the red-flow controls from the blue control that starts the system.
What the labels mean
| Label | Role in the diagram | Community overload setup |
|---|---|---|
| G1 | Supply | On |
| M2 | Distribution | On |
| F1 | Main flow | On |
| F2 | Main flow | On |
| F3 | Stabilization | Off |
| F4 | Main flow | On |
| F5 | Stabilization | Off |
| Blue valve | Starts the system | Activate after setting the controls |
PaleMothReviews reads the main-flow grouping as F1, F2 and F4, and the stabilization grouping as F3 and F5, at roughly 22:04 in the demo. This distinction explains why blindly switching on every lever is a confusing instruction. The three flow controls and the two stabilization controls are doing different jobs.
The repair instructions describe how to run a stable system. Their emergency warning describes what happens when the conditions for failure are met. For this demo route, the warning is the useful clue: instability and excess flow are a way to obtain a removable part.
Obtain the red valve
Start by checking the labels and the existing state of the controls. If you have already experimented, do not assume that a lever is off simply because that was its state when you first entered the building. Establish the starting state deliberately, then change only the controls in the combination you are following.
- Turn on the supply control G1.
- Turn on distribution M2.
- Set the main flows F1, F2 and F4 to on.
- Leave stabilization F3 and F5 off.
- Activate the blue valve to start the system.
- Look for the resulting loose red valve and collect it.
- Check that the red metal valve is now in your inventory before leaving.
This specific setup is reported in the Steam gas-pipeline discussion. The thread contains conflicting shorthand such as turning everything on, along with reports of unsuccessful attempts. Use the named controls above rather than mixing several comments into an invented hybrid solution.
The demonstrated result is more reliable than any assumed success sound. In PaleMothReviews' playthrough around 23:38–24:14, a stable attempt fails to advance the task, the player tries breaking the setup, and then receives the red metal valve. ManlyBadassHero around 24:05–24:27 reaches the same item by deliberately making the system fail.
Use the valve at the hydraulic socket
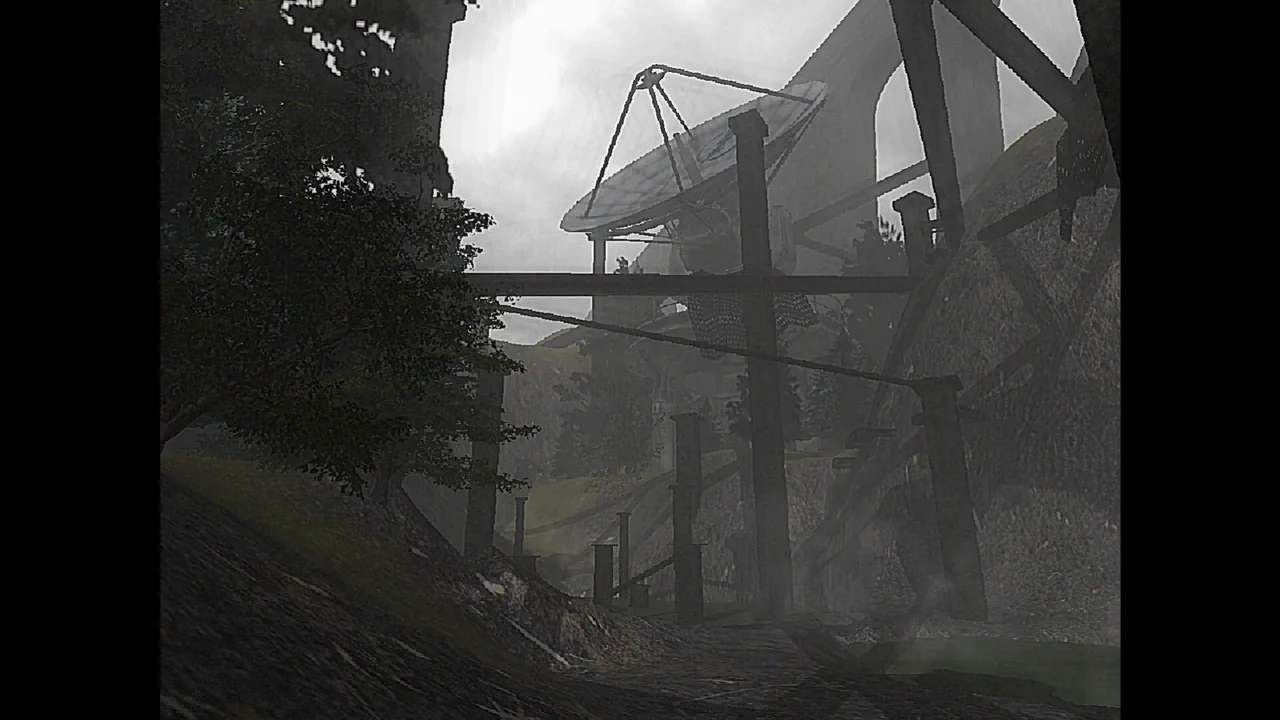
The loose red valve is for a different device near the water, not for putting the apartment gas system back together. Before you have the part, that device tells you its valve socket is missing a required piece. This is a useful landmark to remember while searching the forest and water's edge.
Return to the hydraulic device with the red valve in your inventory. Accept the prompt to install it, then use the valve. The water route becomes available and leads to a demo boundary: a message says that the story continues in the full version.
You have not failed because the game ends there. The public demo deliberately stops on that route, and the continuing area is outside its playable scope. Do not keep searching for another pipe sequence solely to remove the end-of-demo message.
Why repairing the gas does not advance this route
The note sounds like a conventional maintenance objective: stabilize the supply, avoid excessive pressure, and start the system. That wording encourages a safe setup, but the useful item comes from the failure state. This is why a technically careful attempt can still leave you stuck.
Treat the puzzle as an item-retrieval problem: do you have the red valve yet? If you do, move to the hydraulic socket. If you do not, checking whether the gas sounds quieter is less useful than checking the switch grouping and the resulting pickup.
The demo footage does not establish the final story consequences for the tenants. Their argument and the danger warning invite interpretation, but a mechanical route is not proof of a full-game ending. We do not label this a good, bad or secret ending.
Common sticking points
- I followed the repair note and nothing happened. The valve route uses system failure. Recheck the distinction between F1/F2/F4 flows and F3/F5 stabilization.
- I turned on several controls but never started the system. The blue valve is the start interaction after the lever setup.
- I have the red valve, but the building offers no next step. Take it to the missing hydraulic socket near the water.
- I cannot find the TV remote. Neither of the completed demo routes used here shows its recovery. A confirmed demo location is still unavailable; do not confuse the valve pickup with the remote.
- The swamp route immediately ends the demo. That is the observed boundary, not evidence that the valve was used incorrectly.
For the wider route, return to the demo walkthrough. To finish the other outdoor task before approaching a demo exit, follow Fairy's belongings and bar encounter. Those tasks let you explore both sides of the opening without claiming that either is a full-game completion.