My Beautiful Faraway demo walkthrough
Restore the organ, play 2215243, pick up the church key and leave. Outdoors, help Fairy or obtain the red valve; the bar and hydraulic routes reach demo boundaries.
To finish the My Beautiful Faraway demo, restore the church organ, play 2215243, collect the church key from the fountain and leave. Outdoors, you can complete Fairy's three-item request and enter the bar, or obtain the apartment's red valve and use it at the water-side hydraulic device. Both routes reach a demo boundary. Explore the outdoor tasks before crossing either exit if you want to see as much of the opening as possible.
Demo walkthrough · Updated October 5, 2026. Covers the public demo shown in two independent playthroughs. The full game's ending routes and consequences are not yet confirmed.
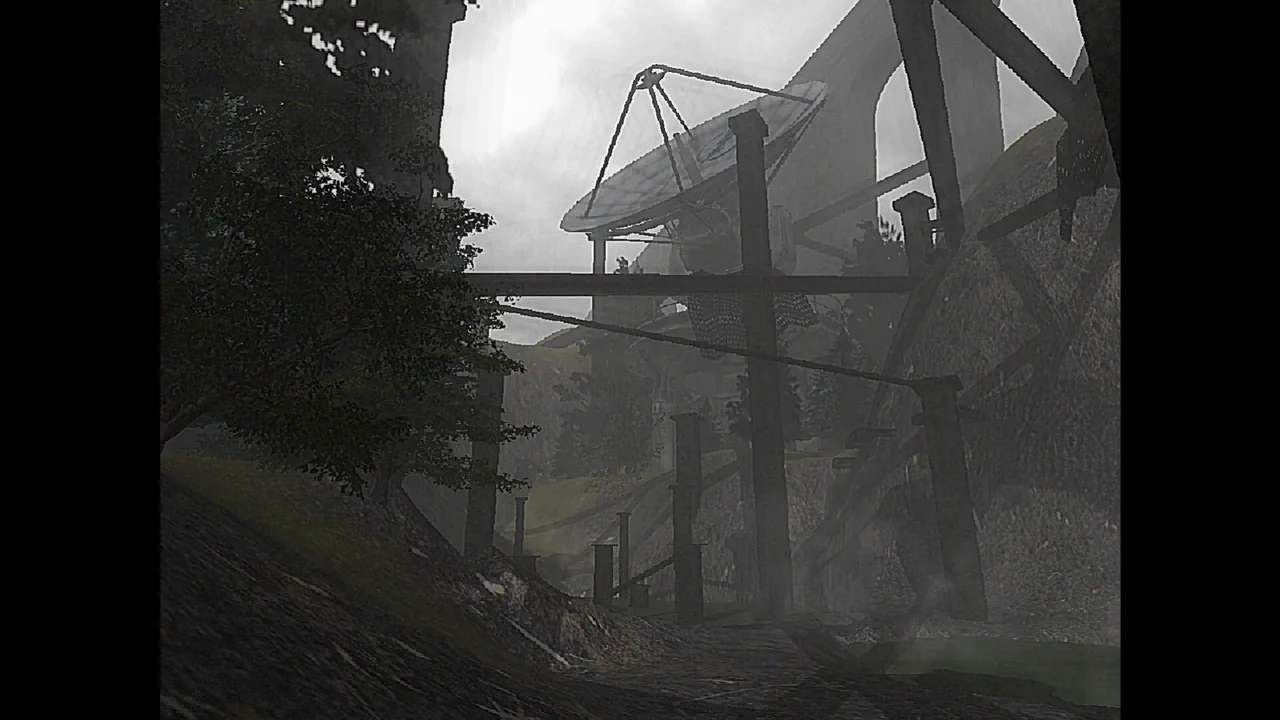
Official Steam store image by 4rch1t3ct. This guide uses the church, building, forest and water as landmarks rather than invented map coordinates.
Choose how much help you want
This walkthrough follows the opening area's tasks without trying to settle the story's meaning. The dialogue deliberately leaves the place and its inhabitants unexplained. You can progress by paying attention to objects and conversations without deciding whether the world is a dream, an afterlife or something else. The opening's dream-or-death choice is part of that ambiguity; the demo footage does not establish a final ending consequence for it.
For light hints, use the route checklist below and stop reading when it points you toward a new place. For direct solutions, continue through the numbered stages. Each substantial puzzle also has its own page so you can open the exact step you need without scrolling through every conversation. The route page answers where to go next; the dedicated pages explain the detailed puzzle inputs and common failures.
The route at a glance
| Stage | Immediate objective | Completion check |
|---|---|---|
| Church search | Collect five organ keys and the musical notes | The organ offers to install all keys |
| Church melody | Play the seven-number sequence | Walls tremble; a key falls into the fountain |
| Church exit | Pick up the church key and use the door | You reach the outdoor area |
| Outdoor orientation | Answer the telephone and speak with the crow | You have heard the dream/train clue |
| Water and apartments | Speak with the fisherman and visit the arguing couple | The remote request and repair clues are introduced |
| Forest | Recover Fairy's boot, bag and cigarettes | Fairy thanks you for finding the complete set |
| Bar route | Meet Fairy outside and enter with her | Demo stopping point |
| Hydraulic route | Retrieve the red valve and use the water-side socket | Demo stopping point beyond the water mechanism |
The last two rows are route boundaries, not a promise of two finished story endings. If your goal is to inspect the opening's tasks, leave those entrances until you have finished exploring the church and outdoor area. You do not need to treat the table as an optimized speedrun; it is an orientation tool for a game with little explicit direction.
1. Search the church systematically
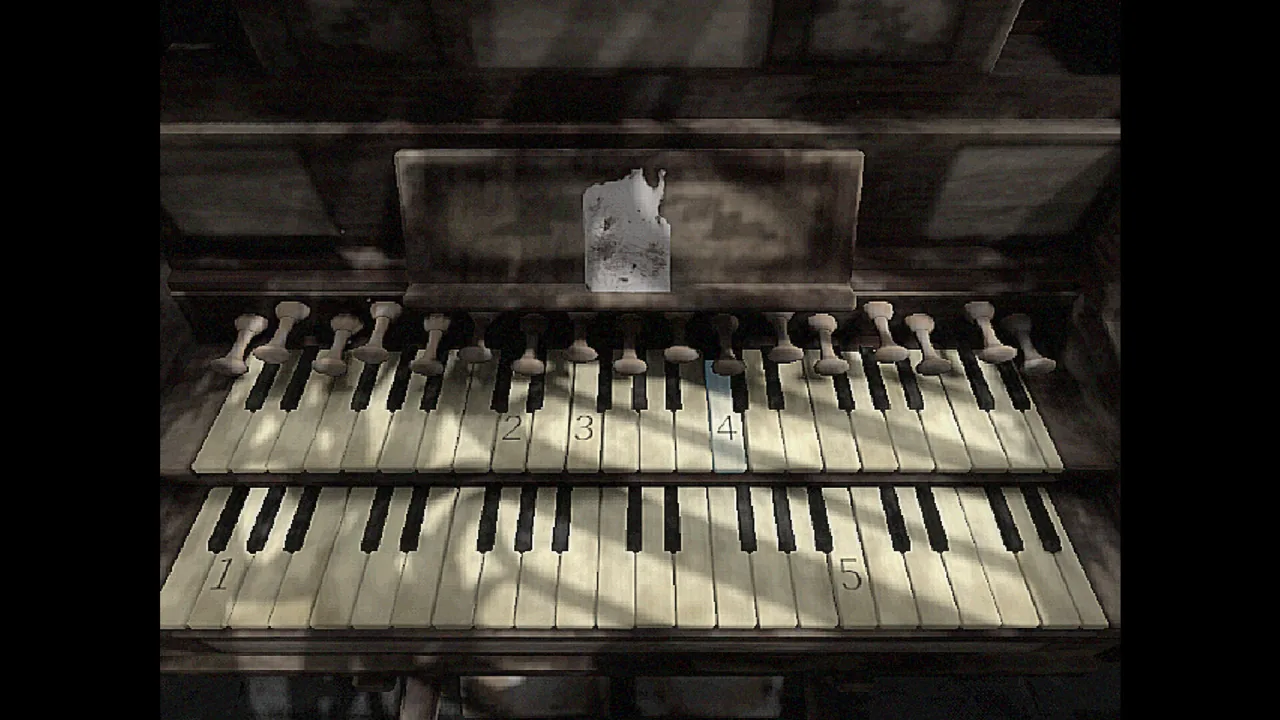
After the opening text, you arrive in the church with a dusty organ that is missing keys. Start with the instrument so that you know what the room is asking for, then search nearby surfaces. The demo calls each pickup an organ key and tracks the total out of five. These are pieces of the keyboard, not the large door key you will obtain later.
Pick up the musical notes during the same search. The sheet is the clue for the melody after the organ has been repaired. Finding it early does not remove the need for the five physical pieces, but it prevents a second trip around the room to look for the written clue. Keep collection and interpretation separate: first gather what the room offers, then work through the song at the instrument.
Make a circuit rather than running between whichever objects catch your attention. Use the organ, fountain, pews and walls as landmarks. Inspect ground-level surfaces, then raise the camera before leaving each wall section. In particular, the final pieces in the reference footage require looking above normal eye level; searching only benches and floor clutter can leave you one short.
The letter in the room adds story texture. It is not a replacement for the musical notes and does not supply a second keyboard code in the demonstrated route. Read it if you want the opening's narrative details, but if the organ still says that pieces are missing, return to the collection count. A story clue and a required pickup can occupy the same room without serving the same mechanical purpose.
When you have all five keys, interact with the organ and accept the installation prompt. The prompt is the clearest sign that this stage is complete. If it never appears, check the inventory count and revisit high wall surfaces. The organ puzzle guide includes the last-key search hint and the complete hidden-number explanation.
2. Decode the song and leave the church
Once the instrument is repaired, accept its play interaction. The musical notes contain seven passages, each hiding a number. The printed passage order tells you how to read them, but the labels are not themselves the correct melody. The distinction is easy to miss because the keyboard is numbered too.
The demo solution is 2, 2, 1, 5, 2, 4, 3. The song begins with two different references to two, then a single feather. It later moves through an open hand, two hands, four attempts and three successive disappearances. You are counting the meaning of each passage, rather than transcribing conventional musical notation or trying to recognize a tune by ear.
Watch for the walls trembling and the message about something falling from the chandelier into the fountain. Those are the successful-playback cues in the recordings. If nothing has changed, check the duplicate opening 2 and the final 3; those two points are more useful to revisit than inventing a second sheet elsewhere in the church.
After success, step away from the organ and visit the fountain. Collect the very large church key there, then approach the church door. This additional pickup is part of the route. Solving the melody and possessing the exit key are separate states, so the door can still block you if you played correctly but never collected the reward.
3. Orient yourself outdoors
Outside, answer the telephone and talk to the crow. The call and the bird introduce the idea of reaching a dream by train. This is a direction for the story, but the demonstrated opening does not immediately become a railway puzzle with a timetable or ticket machine. Continue exploring the visible settlement rather than assuming that every future destination is already accessible in the demo.
The antennas are prominent landmarks, and the crow points them out during the conversation. They help you recognize the area after leaving the church. Fog and repeating grass can make it hard to maintain orientation, so anchor each new walk to something large: church, apartment building, tree line or water. Do not use the horizon alone as proof that a distant location is reachable.
There is a locked graveyard in the footage. Its presence does not establish that the church key opens it, or that there is a second hidden demo key you must collect before proceeding. The opening has inaccessible spaces and later-story hints. If an encounter has just told you about a new task, follow that concrete task before spending time trying every item on every locked entrance.
4. Speak with the fisherman and visit the apartments
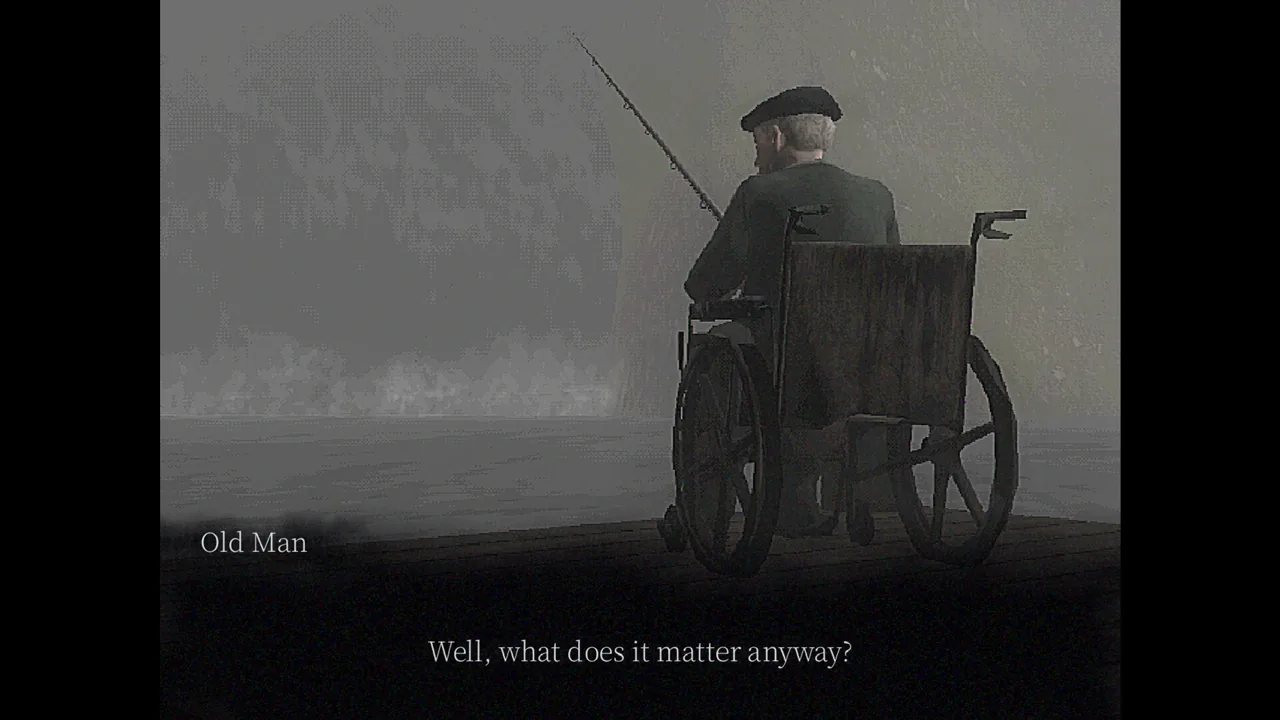
The old man by the water speaks about fishing, waiting and time. Continue the conversation until he mentions the people arguing in the apartments. That gives you a clear reason to investigate the building. You do not have to extract a hidden number from every line he says; unlike the organ sheet, this encounter functions as a conversation and a pointer to another place.
In the building, read the notice to tenants. It says that the gas pipes are in poor condition and directs you to a repair diagram behind the building. That exterior location matters: if you are waiting for a diagram to appear inside an apartment, you may search the wrong place for a long time. Walk around the outside and read the posted instructions before experimenting with the controls.
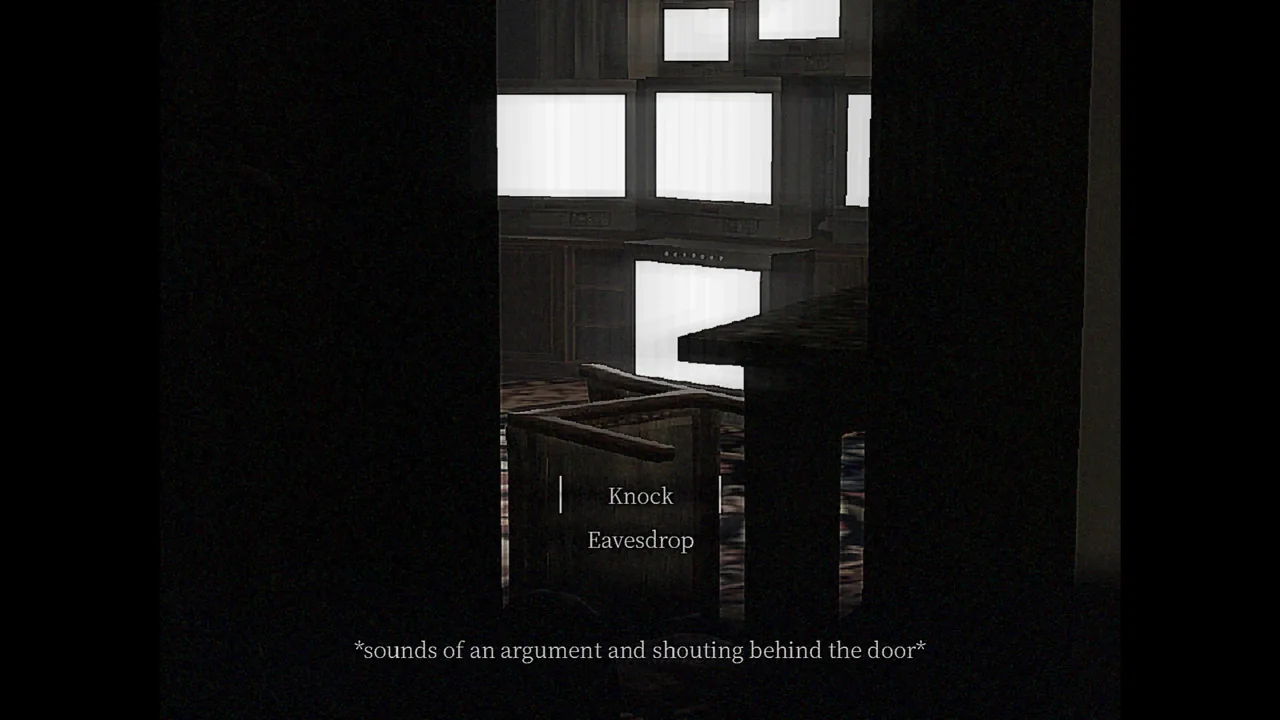
At the arguing couple's door, use the available encounter interactions and continue the conversation. They mention a missing television remote and suggest checking the swamp. That request introduces a reason to explore toward the forest and water. It does not mean that the remote is the same object as the red valve or that finding either one completes both tasks.
Neither of the completed demo recordings used for this guide recovers the television remote. The associated Steam discussion also contains players who cannot find it. Its precise demo location remains unconfirmed. Follow the reachable outdoor tasks, but do not interpret an absent remote as proof that you have failed to finish the public demo.
Before leaving the building, notice the labeled controls and the blue start valve. You will return to these for the gas task if you want the hydraulic branch. Reading the note first helps you distinguish main-flow controls from stabilization controls; the difference becomes important when you aim for the removable red valve.
5. Search the forest for Fairy's belongings
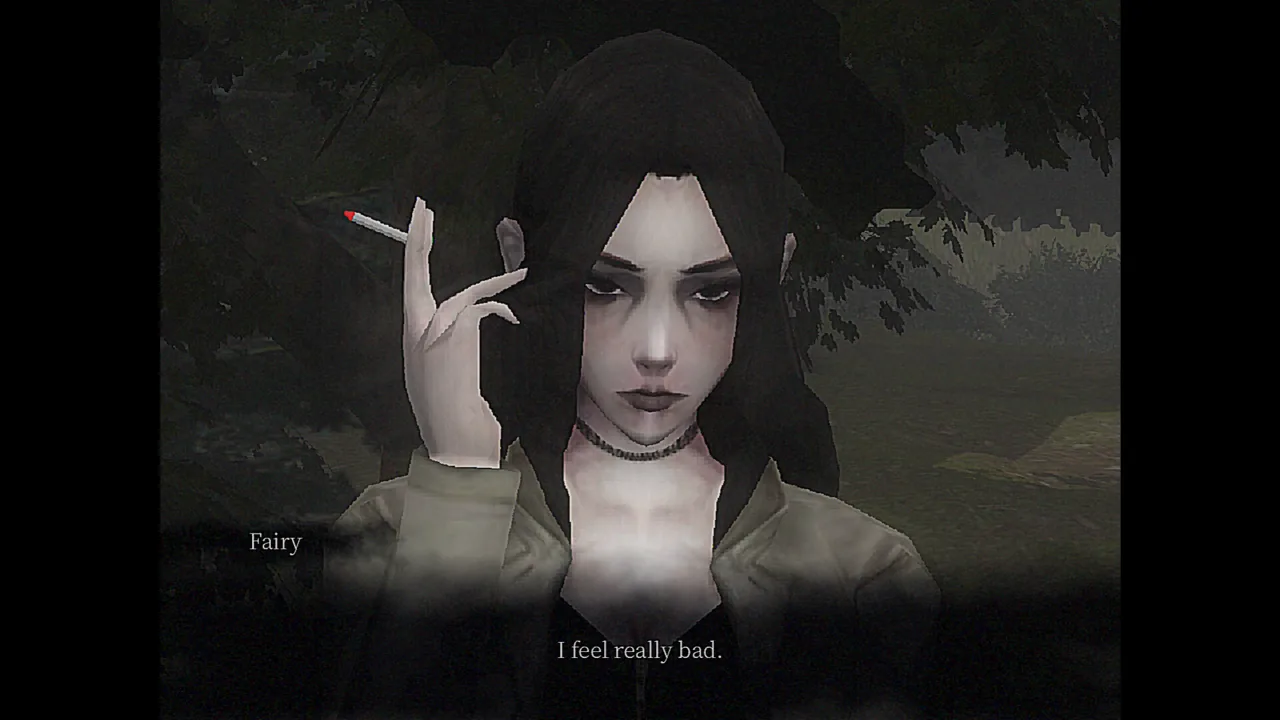
In the forest, speak to Fairy, the woman resting on the ground. Continue until she asks for her things. Her request consists of a boot, bag and cigarettes, each a separate pickup. The cigarette packet is not automatically included when you collect the bag. This is the most common reason to return with what feels like everything and still have an unfinished request.
Use Fairy as your search anchor and make a single outside pass to understand the forest's shape. Then move inward. A Steam player describes missing objects by repeatedly following the outer edge, while the demo footage finds the remaining objects within the search area. Switching from repeated perimeter laps to short interior sweeps is a more useful correction than simply walking faster along the same route.
Check the inventory after each find. One boot is the requested boot item; there is no demonstrated requirement to search for a matching second boot. When the bag has been collected, focus on the cigarette packet's separate shape. If you lose your bearings, return toward Fairy and start a new strip of ground rather than opening up a much wider search outside the forest without a clue.
When all three items are collected, talk to Fairy again. She acknowledges the complete set, asks you to turn around while she gets herself together, and then suggests meeting at the bar. Complete this conversation before leaving. The invitation marks the follow-up stage; seeing a new pose is less useful than listening for where she wants to meet.
The Fairy belongings guide includes item-specific checks and two video checkpoints for the search. We do not give fabricated north/south coordinates because the reference footage has not established them. A grounded route through identifiable scenery is more helpful here than a precise-looking direction that cannot be reproduced.
6. Obtain the red valve from the gas system
For the water route, return to the apartment gas puzzle. The diagram explains a stable setup, but the useful demo item comes from a failure. Both reference playthroughs show the player eventually choosing to break the system, then collecting a red metal valve. If you have followed the safe procedure and nothing advances, reconsider the item objective instead of assuming that a silent stable system must be the final success state.
The labeled controls have distinct roles: G1 supplies the system, M2 distributes it, F1/F2/F4 are main flows and F3/F5 are stabilization. The blue valve is the start interaction. Do not treat all five F controls as interchangeable. A comment telling you to activate every control is too vague to replace the diagram's categories.
The named overload setup in the community thread is G1 and M2 on, F1/F2/F4 on, F3/F5 off, then the blue valve. It combines active flows with absent stabilization. This exact recipe is community-reported; the recordings corroborate the broader failure-and-valve route rather than every written setting in that comment. The gas pipeline guide keeps that distinction visible and provides the control table.
If you have already tried several arrangements, inspect the current states before beginning. Turning a control once is not an instruction to turn it on if you do not know whether it was already on. Reset your mental checklist from the visible labels, make the chosen arrangement, then start the system. After the failure, collect the loose valve and confirm the item in your inventory.
The opening footage does not establish the full narrative consequences of the gas failure. The tenants' situation is unsettling, but the mechanic's observed reward does not justify naming a full-game moral ending or claiming a character survives. This walkthrough follows the item progression only.
7. Use the hydraulic device and reach the water boundary
Find the device near the water that reports a missing valve socket. You may have inspected it earlier while looking for Fairy's cigarettes or exploring the swamp direction. Before you have the part, that message is the clue to remember. It tells you that an item is required, rather than asking for another numerical code.
With the red metal valve collected from the gas system, interact with the socket and accept the installation prompt. Then use the valve. This connects the apartment puzzle to the water mechanism, even though the two devices are in different parts of the opening area. The removable part is the bridge between their tasks.
Continue along the newly accessible route. In PaleMothReviews' recording, this leads toward a platform-like area and a message ending the demo. The story continues in the full version, so that boundary is a deliberate cutoff. There is no confirmed additional demo puzzle beyond the message in the material used here.
If you want to see Fairy's bar conversation too, finish her forest request and approach the bar before crossing a stopping point, while being mindful that entering the bar also ends the demo. The footage establishes two stopping routes across the playthroughs; it does not establish a seamless post-ending free-roam mode where you can collect everything afterward.
8. Meet Fairy at the bar
After the belongings conversation, meet Fairy outside the bar and speak with her. She is uneasy about a man inside and asks you to accompany her. Continue the invitation and enter. That is the bar branch's demonstrated cutoff, so it is best treated as a final step for this portion of a run rather than an ordinary building you can enter and leave while checking remaining tasks.
The forest hand-in and the bar entry are different milestones. If Fairy is still talking about her missing items, return to the three-item checklist. If she has invited you to the bar, the collection has already advanced and your next task is the meeting. Distinguishing those states avoids another full forest search after the objective has changed.
Do not label the meeting as a romance ending or assign it a relationship score. The demo shows gratitude, dialogue and an invitation; the full game's ending logic has not been verified. Helping a character is an observable event, while predicting its final consequence is a separate claim that requires later game material.
If you are stuck, check the last completed state
Most opening blockages become clearer when you name the last confirmed result. Have you collected five organ pieces, installed them, played the melody, or actually picked up the church key? Each is a separate step. Likewise, finding the gas diagram, setting switches, causing failure and collecting the red valve are different actions.
| Symptom | Useful next check |
|---|---|
| One organ key is missing | Raise the camera toward high wall ledges |
| The correct melody did not open the door | Check the fountain pickup and inventory |
| You cannot reread a clue | Open Esc and look for the notes panel |
| Fairy does not finish her request | Verify boot, bag and cigarettes individually |
| The gas system runs but gives no item | Reconsider the failure condition and named control groups |
| The water device still asks for a part | Confirm you collected the red valve after the gas failure |
| A route displays the end-of-demo message | You have reached a boundary, not another unsolved puzzle |
What the demo leaves unresolved
The full release is advertised as a branching adventure with multiple endings, seven figures and more than ten puzzle mini-games. The demo is an introduction to that larger structure. Its reachable bar and water cutoffs do not supply a complete list of endings, achievements, train objectives or later character routes.
The television remote's recovery, the locked graveyard's progression and the final meaning of the opening choice remain outside the confirmed route here. We do not turn them into checklist requirements just because a player can see or hear about them. A demo can introduce an object or destination without letting you complete its entire story.
See demo length, release and settings for the difference between the available opening and the planned full game. If your build changes the organ, controls or task dialogue, compare the actual prompts with the demo scope stated at the top rather than forcing an old input into a different version.
Watch the route alongside your own run
This walkthrough draws on ManlyBadassHero's demo and PaleMothReviews' demo. The first has a compact church solve and the bar encounter; the second clearly narrates the control groupings, red valve pickup and hydraulic-route boundary. Their different encounter order helps distinguish required item relationships from the incidental path one player happened to take.
Useful checkpoints are ManlyBadassHero's organ solve around 6:18, Fairy hand-in around 19:27, and valve use around 24:43; PaleMothReviews' organ success around 9:28, gas failure around 24:03, and hydraulic use around 29:46. Video timestamps are approximate reference points. They do not imply that your run must reach those stages at the same time.
The developer's demo page establishes the demo's scope, while the Steam discussions supply additional reports about common sticking points. The guide describes the demonstrated mechanics and marks the unconfirmed areas; it does not claim a hands-on full-game test.